So, you have a brand new shiny compressor in your valve room; or, you have taken over maintenance for a valve room which is somewhat less than new and shiny, but still…! Obviously, the compressor is installed in a nice clean, dry and dust-free environment, and is securely bolted to the wall/floor using all four points provided.
One of the questions that comes up in our training sessions is “What do we really need to do, to maintain a compressor?”
It seems that because they might look complicated, with a number of components, some electrical, that many maintainers are reluctant to do much with them – despite being perfectly competent to dismantle an alarm valve and run all sort of flow and pressure tests. However, a lack of simple checks and maintenance is the single most common cause of compressor failure, and early failure of any component in a fire sprinkler system (1) compromises the system, and (2) doesn’t make any of us look good.
Here, we’re going to break it down into simple steps.
Maintenance required weekly by on-site maintenance staff – just two things, and maybe none:
- Check the oil level, using the sight glass or dipstick; if the dipstick has a clip, ensure it’s in place; if the oil is low top it up.
- If you as an installer cannot trust that this will be done, we do have a range of oil-free compressors, but by their nature the size is limited and the life-span is shorter (but not shorter than a lubricated compressor that runs out of oil!).
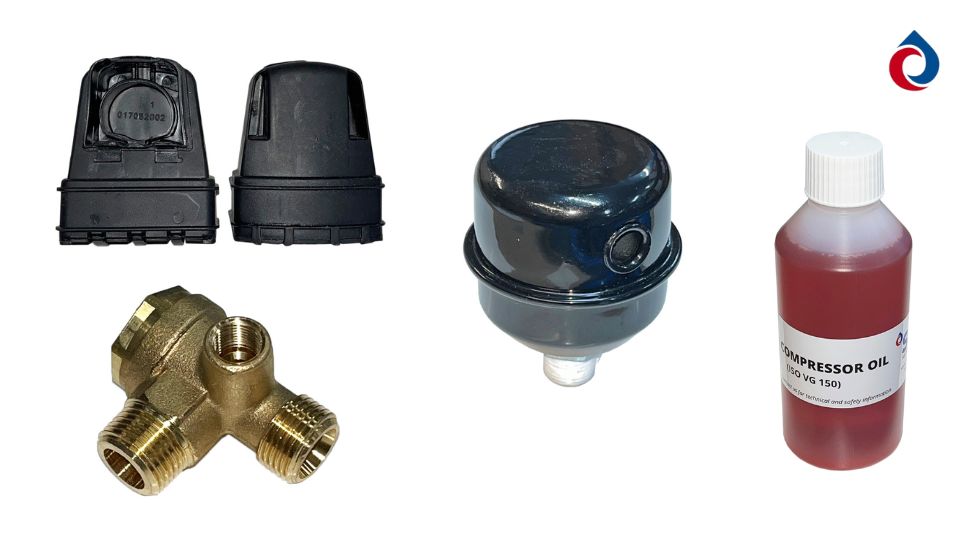
- Drain the receiver/tank, using the valve underneath, if the compressor has a receiver/tank; dispose of any dirty fluids safely.
- If you as an installer cannot trust that this will be done, we offer an electronic drain valve which automates this task.
Maintenance required every six months, usually by the sprinkler system maintainer:
- Check, and clean (or replace if necessary), the air intake filter; most models can split for inspection but if not, then if it’s very dusty outside it’s most likely very dirty inside.
- Clean any dirt and dust from the outside of the compressor, focusing on the compressor cylinder, head, cooling fins and motor cowl – if covered in dirt, it cannot cool effectively.
- Check all enclosures, covers, casings, guards and other protective equipment/fixings are intact and secure. If not, they must be replaced for safety reasons.
Maintenance required annually, usually by the sprinkler system maintainer:
- If a lubricated model, drain old oil into a suitable container and dispose of safely. Replace drain plug and refill the compressor with fresh oil. Replace dipstick and any retaining clip, once the level has been checked.
- Check non-return valve operation (no hiss after initial unload); however, we strongly recommend annual replacement of at least the spring and pastel.
- Unless in a clean environment, we recommend replacing the air intake filter unless it can be opened and is checked to be clean.
- Check all joints and gaskets; repair or replace if leaking or visibly damaged.
- NOTE: safety relief valves should NOT be touched as they are calibrated safety devices. Some sites may require periodic replacement.
And that’s it! We don’t think it’s that difficult, and most things are ‘check’ rather than ‘action’. Remember that if a compressor is not overworked, lives in a decent environment, and is well looked after, then a lubricated model can be expected to last 15-20 years or even more; an oil-free model will be less, maybe 5-10 years. In the (very) rare event that you may need to discuss warranty failure with us, then we will ask for certain information (this will be the subject of another article coming soon).
Hopefully this has provided a useful and practical guide, but if you have any questions at all then please do Contact Us – we are always here to help!